


May 26, 2020
Week Three is all about the beautiful outdoors, using what we learned in week one and two, and our knowledge of light and color, we will focus on flowers and landscapes and learn how to capture the beauty of the natural world with our phones.
FLOWER TIPS
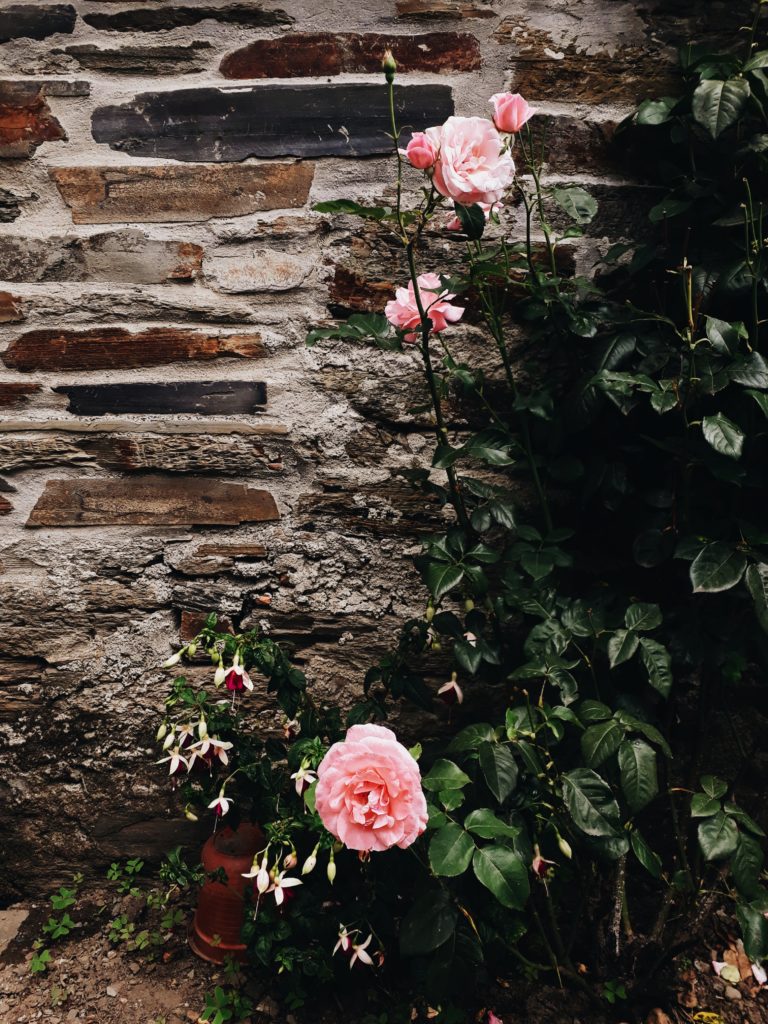
// Get close to the flower and focus on just one or two blooms.
// Avoid a cluttered background if at all possible. This might require you to pick a flower and position it somewhere else (either outside or inside), but this is important because too much going on in the background will distract from the flower you are focusing on.
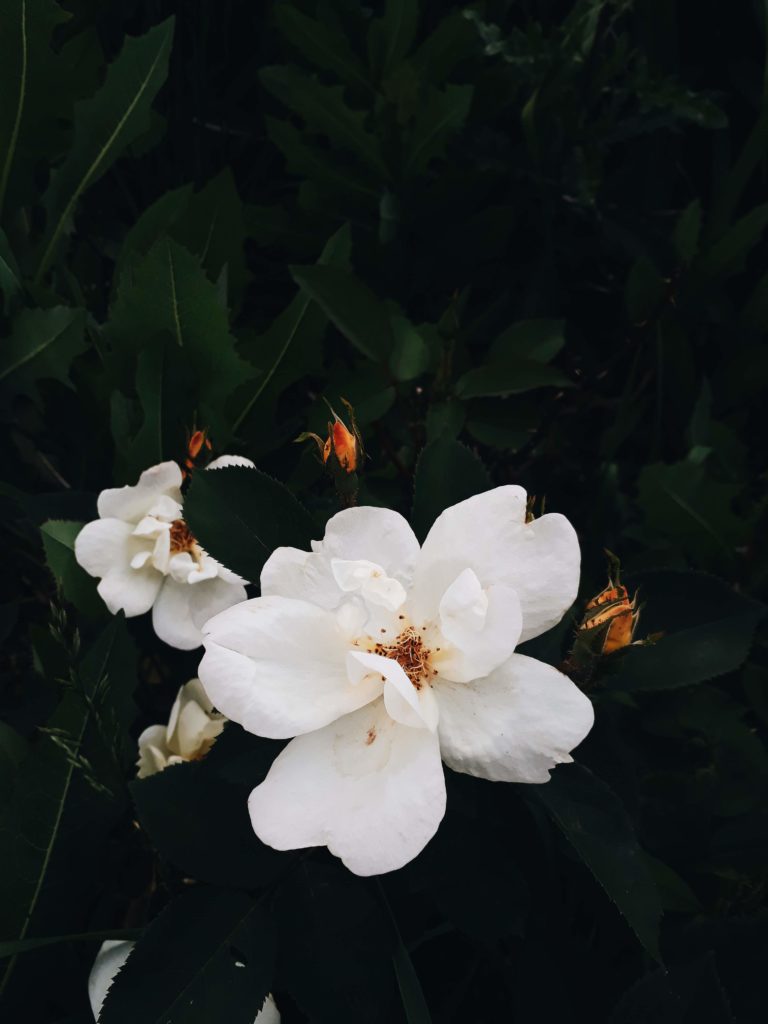
// Pay attention to your colors! Utilize complementary colors for a rich contrast, or use monochromatic colors for a really close shot of one flower.
// Avoid wind, if it’s very windy it will make it very hard for your phone to focus on a flower. Either wait for a less windy time or pick the flower and bring it inside to photograph it.
// Shoot through another flower: if you place one flower very close to your phone, and focus on another flower farther away the first flower will give you a beautiful blurred effect which will frame your main flower
FLOWERS & LIGHT
The best light to photograph flowers in is actually on an overcast day because you will have even soft light which is perfect for highlighting the delicacy of flowers and you will avoid problems with shadows or harsh light. However, If you do want to shoot on a sunny day, utilize backlighting (go back to week one if you need a refresher on backlight) and your best light of the day is going to be the first two hours after the sunrise and the last two hours before the sunset. Also, if you decide to shoot inside, remember to place your flowers by a window, turn off any artificial lights, and use that beautiful natural light.
TOP THREE THINGS TO REMEMBER
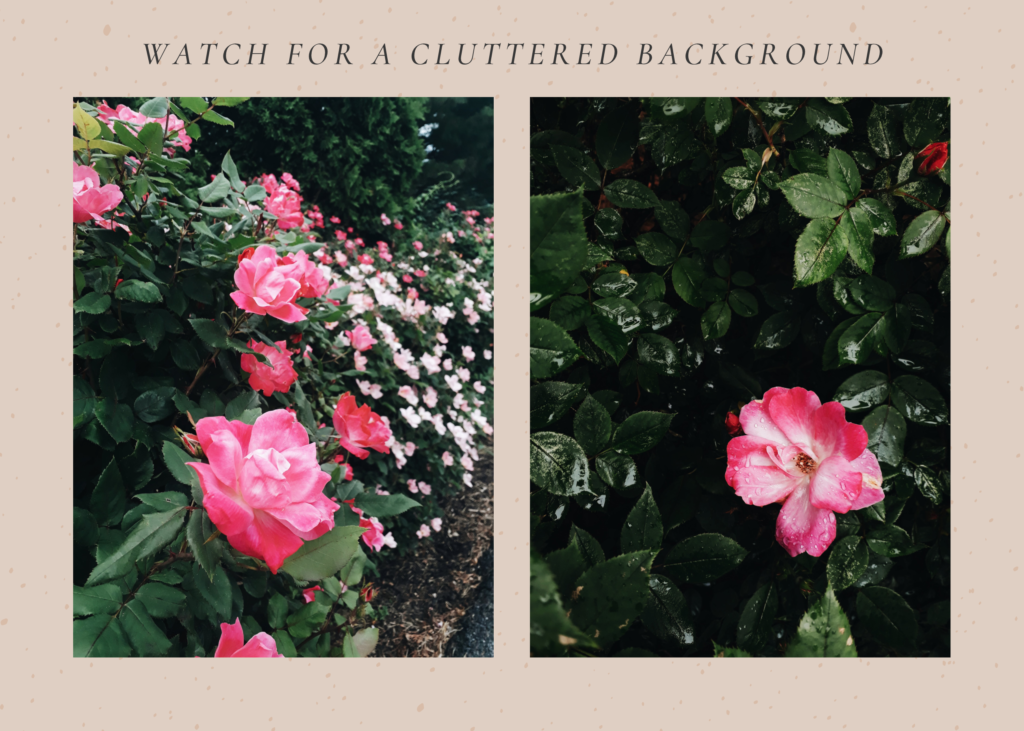
The two photos above were taken on the same rose bush. While the photo on the left is technically fine, the photo on the right is better because there is way less going on in the background and thus the pink rose stands out way more.
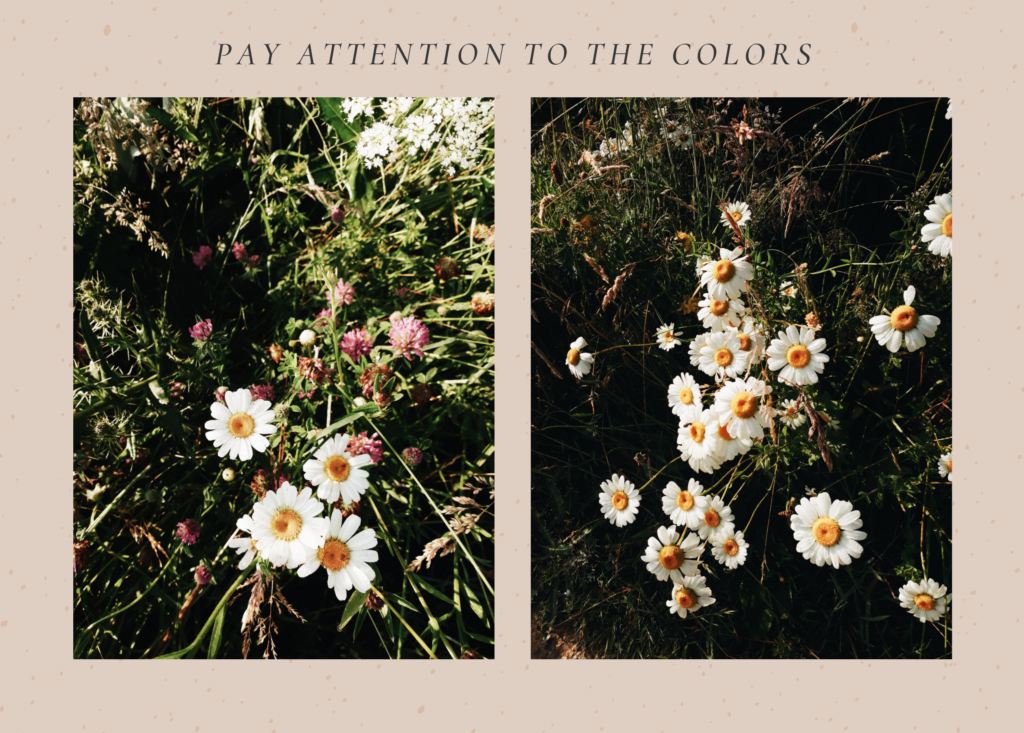
Pay attention to the colors in the flower and in the background and avoid distracting colors if possible. The photo on the right looks slightly better because the pink wildflowers in the left photo distract from the white & yellow color story in the daisies.
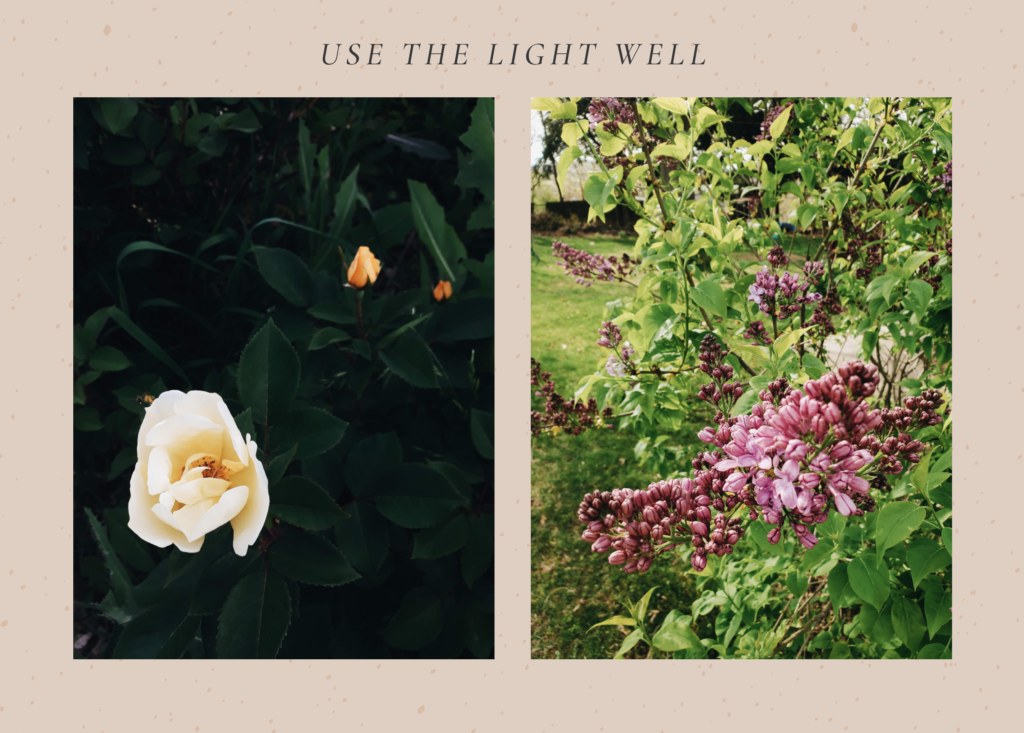
Remember to pay attention to the light! The photo on the left was taken on an overcast day and the result is beautiful even light on the rose. The photo on the right was taken on a sunny day so I made sure to use backlighting to avoid harsh shadows and contrast. Both work very well!
LANDSCAPE TIPS
// Change your perspective. Get low to the ground, reach high above your head, shoot through something, try moving closer or farther away.
// Use the exposure slider on your phone: most phones have a handy little slider that pops up on your screen when you tap your image to focus on something. If you slide this up or down it will change the exposure (how bright or dark your image is). This is especially useful when photographing landscapes (especially sunsets).
// Pay attention to the light, early morning & late evening means the sun is much lower to the horizon and will give you a very beautiful contrast to the landscape. But that doesn’t mean you cannot shoot during midday! Just be aware of where the sun is and watch out for your shadow.
// Composition: use the Rule of Thirds, I often like to do ⅓ sky and ⅔ land, unless the sky is the focus of the photo and in that case, I would do ⅔ sky and ⅓ land.
RULE OF THIRDS
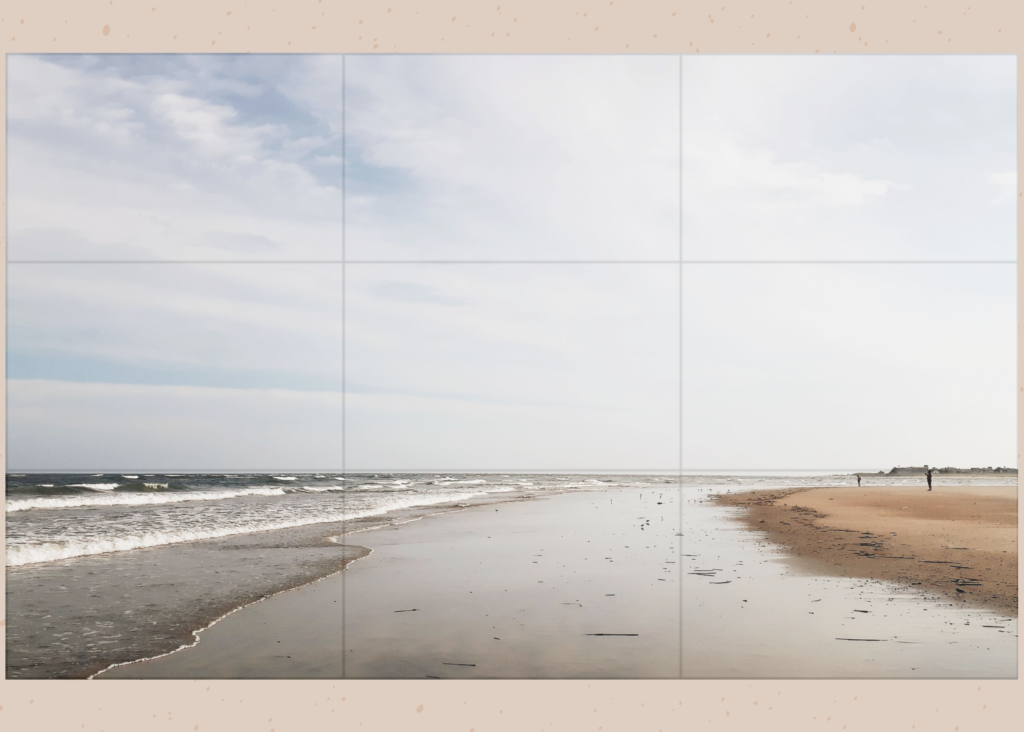
One of the most used rules of composition is called the Rule of Thirds. It is when an image is divided evenly into thirds, both horizontally and vertically, and you place the subject of the image at the intersection of one of those dividing lines, or along one of the lines itself.
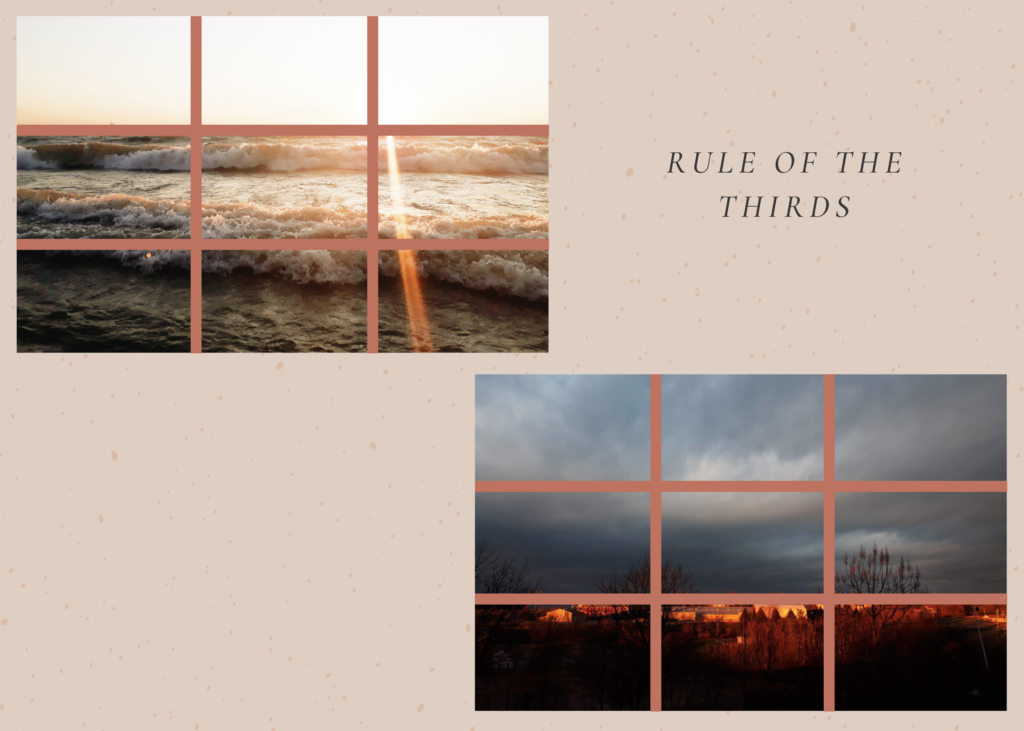
When you set up your landscape image, keep in mind the Rule of Thirds. In the top photo, the image is divided into ⅓ sky and ⅔ land, and the photo on the bottom is divided into ⅔ sky and ⅓ land. Dividing your image this way ends up being very pleasing to the eye.
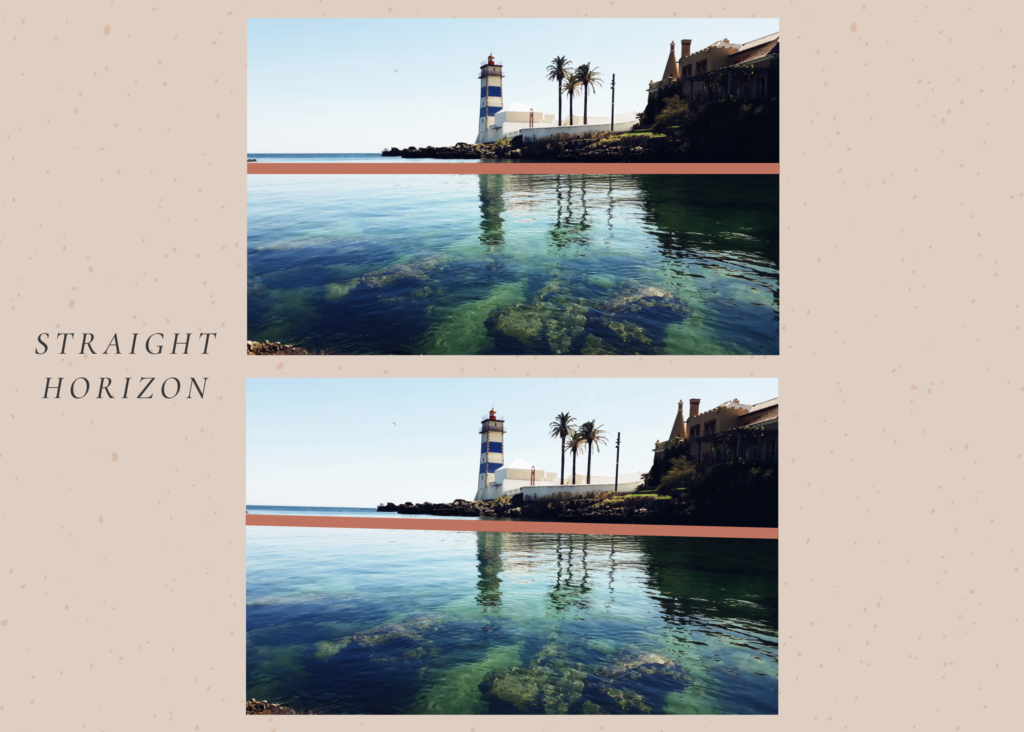
When you are taking a landscape image, it is super important to have your horizon line straight. If you struggle to take a straight picture, you can always straighten it when you edit it, but you should really try to get it as straight as possible in-camera first.
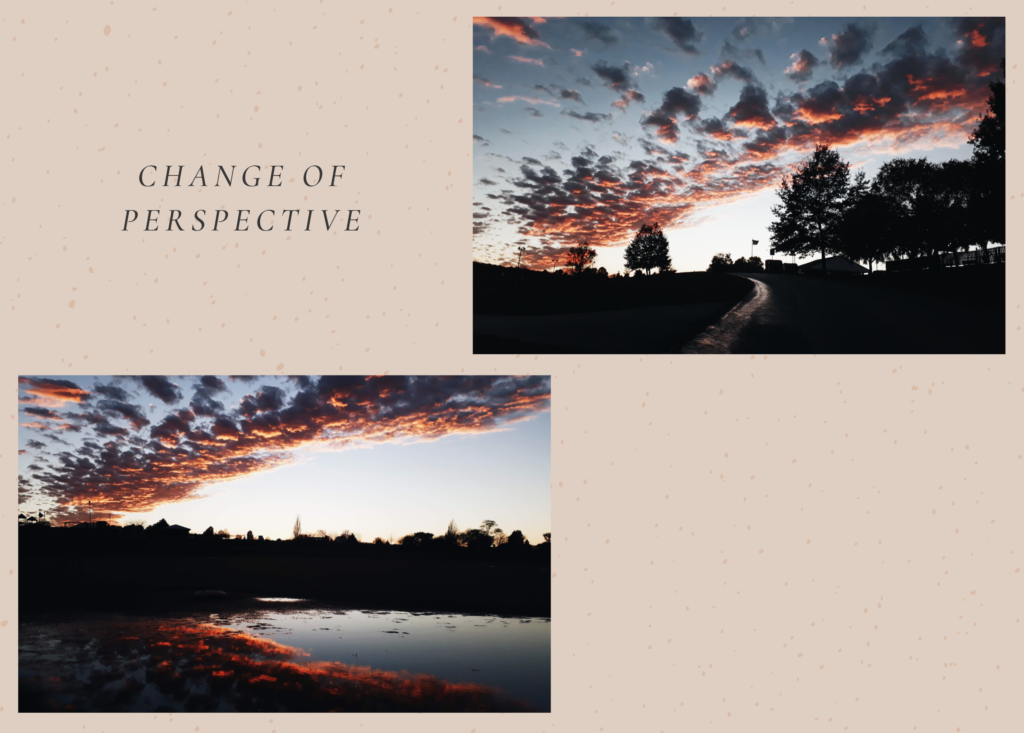
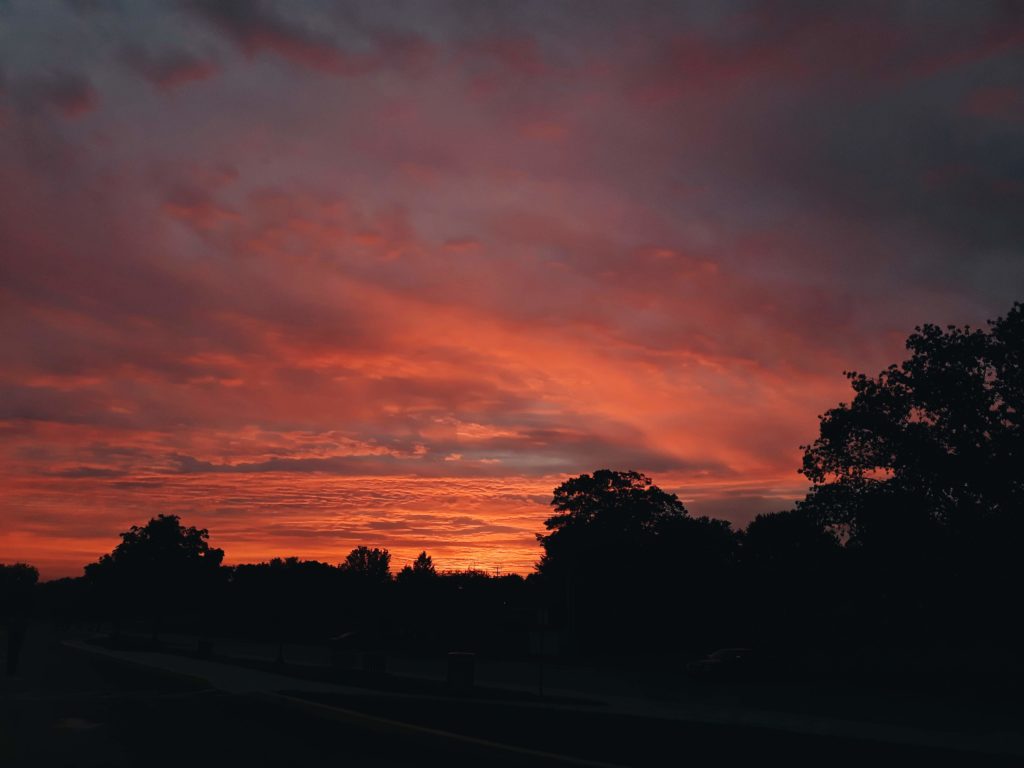
Try mixing up your landscape images by changing your perspective. Both of these images were taken with five minutes of each other at the exact same location. But the image at the top was me just standing up and aiming my phone at the sunset and in the photo on the bottom, I crouched down and held my phone level with a puddle on the road to get the sunset reflection in the water.
These are the two challenges for this week:
1. Take a picture of a flower (or flowers). Watch for color stories, light, and distracting elements. Practice on flowers in your yard or local park or go get yourself a bouquet of flowers and practice on them
2. Take a picture of a landscape. You don’t have to travel to a beautiful location to take a good landscape picture! I really encourage you to get outside this week and go to a local park, or go on a drive in the country and take some photos of the land you live in.
Xoxo,
Mary Kate
Comment

Mary Katherine truly captured our whirlwind and glorious day with flawless professionalism and artistry.
"The exuberant joy of the candids, the elegance of the portraits, the regal and sacred shots of our wedding mass, all of it is simply breathtaking.
- Rose + Jeff
FIVE STAR REVIEW:


Share Post:
Be the first to comment